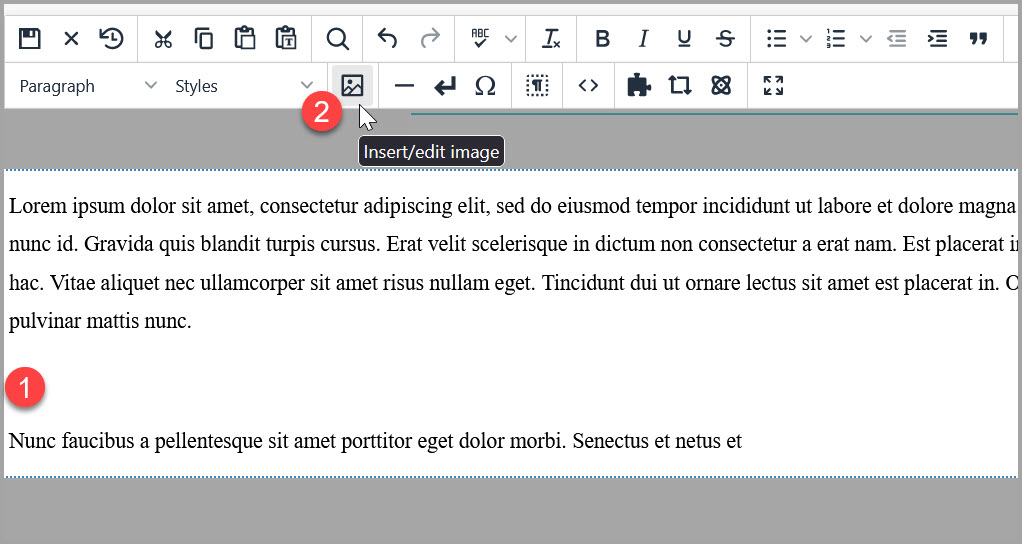
Navigate to the section of the page you wish to add the image.
Place your cursor where you wish the image to display.
Select the "Insert/Edit Image" button:
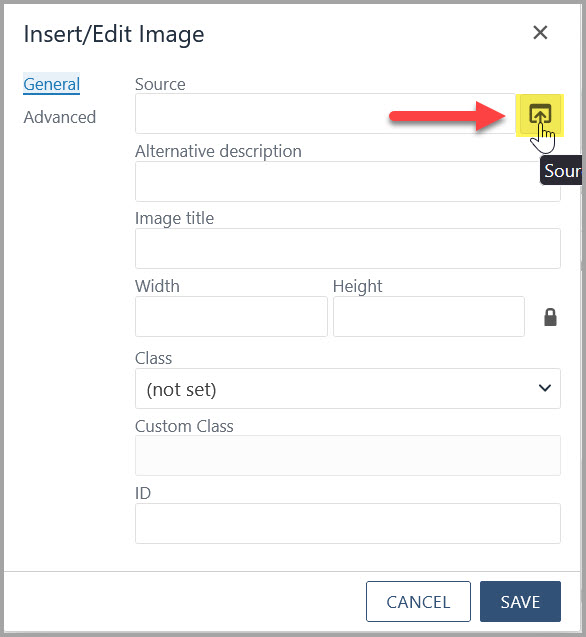
Select the image. The prompt to select or upload an image will appear. If you're not already in your
images folder, you will need to navigate to it.
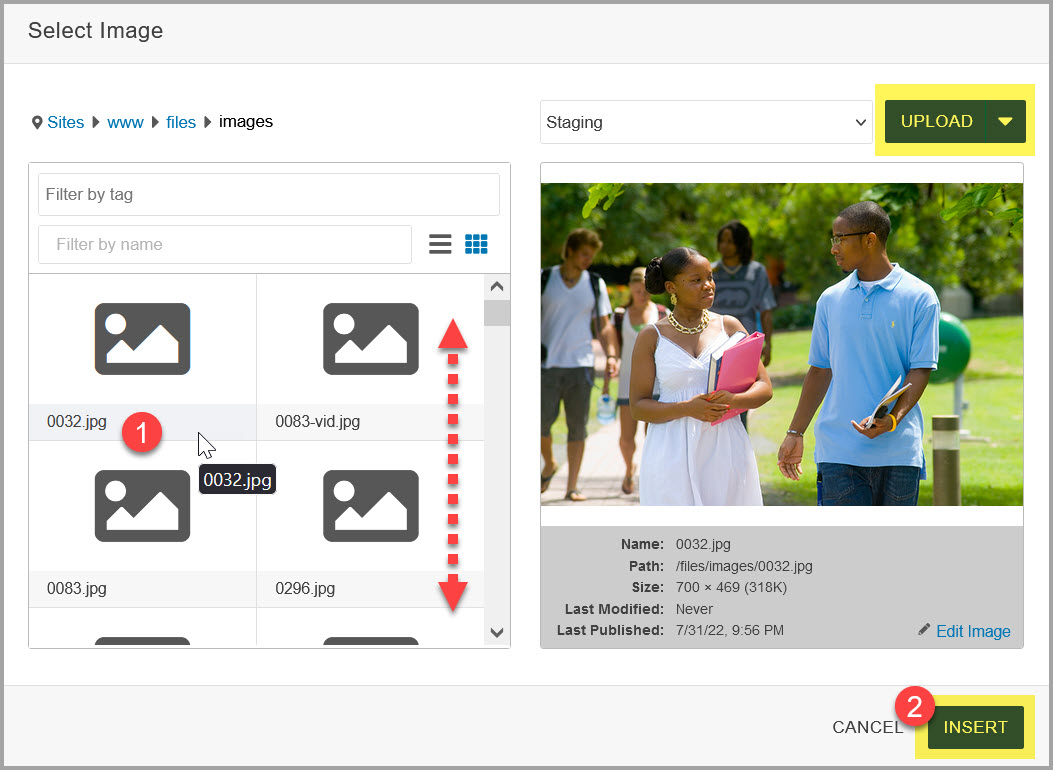
Once you are in your image folder, you can select an image or upload images to your
page.
Select or upload the image you wish to add to your page. Once you have selected the image you would like to insert on the page, click the "Insert"
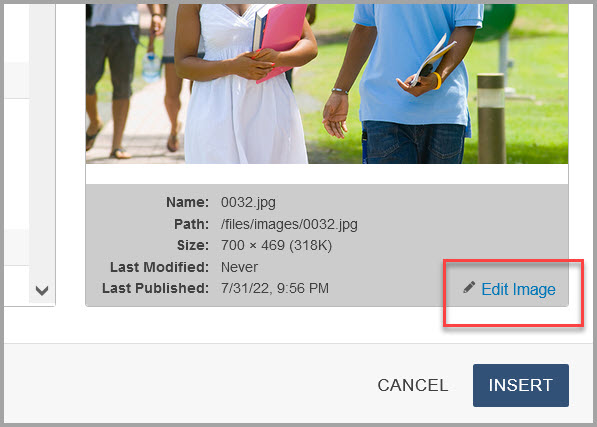
button Note: If you need to edit the image, select the "Edit Image" link.
When adding new images, make sure the new image has a file size under 1MB and doesn't
have any spaces.
The only special characters allowed are underscores, dashes, and periods.
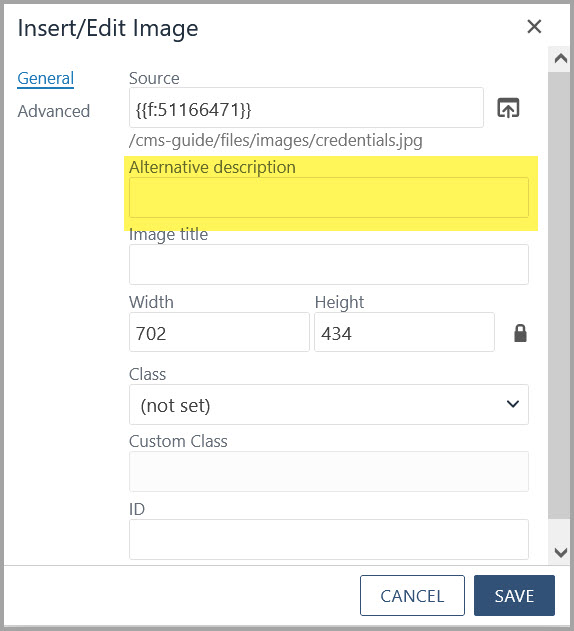
Add alternate text for accesibility Alt text (alternative text) is a word or phrase to tell Web site viewers the nature
or contents of an image.
Once the page is published, the image will be published to the web server and display
on the page.
Here are a few things to note:
Resize inserted images on page.
Images inserted on a page can be resized by clicking and dragging one of the corner
handles to resize.
See screenshot below.
Note: In this case, the image isn't actually being resized but only renders this way.
Using the Omni CMS image editor to crop and resize images will give you the freedom
to crop and resize images to the exact file size used on the web page.
You can access this editor by selecting the image while viewing the file list and
clicking "Edit."