The editor allows you to make changes to your web page content in an easy to use word processing environment.
Once logged in you will see small green edit buttons above the areas you have access to edit. Click the edit button directly above the area you want to edit. Note: Clicking the edit button will "check out" the page meaning that no one else can edit it while you are working on it.
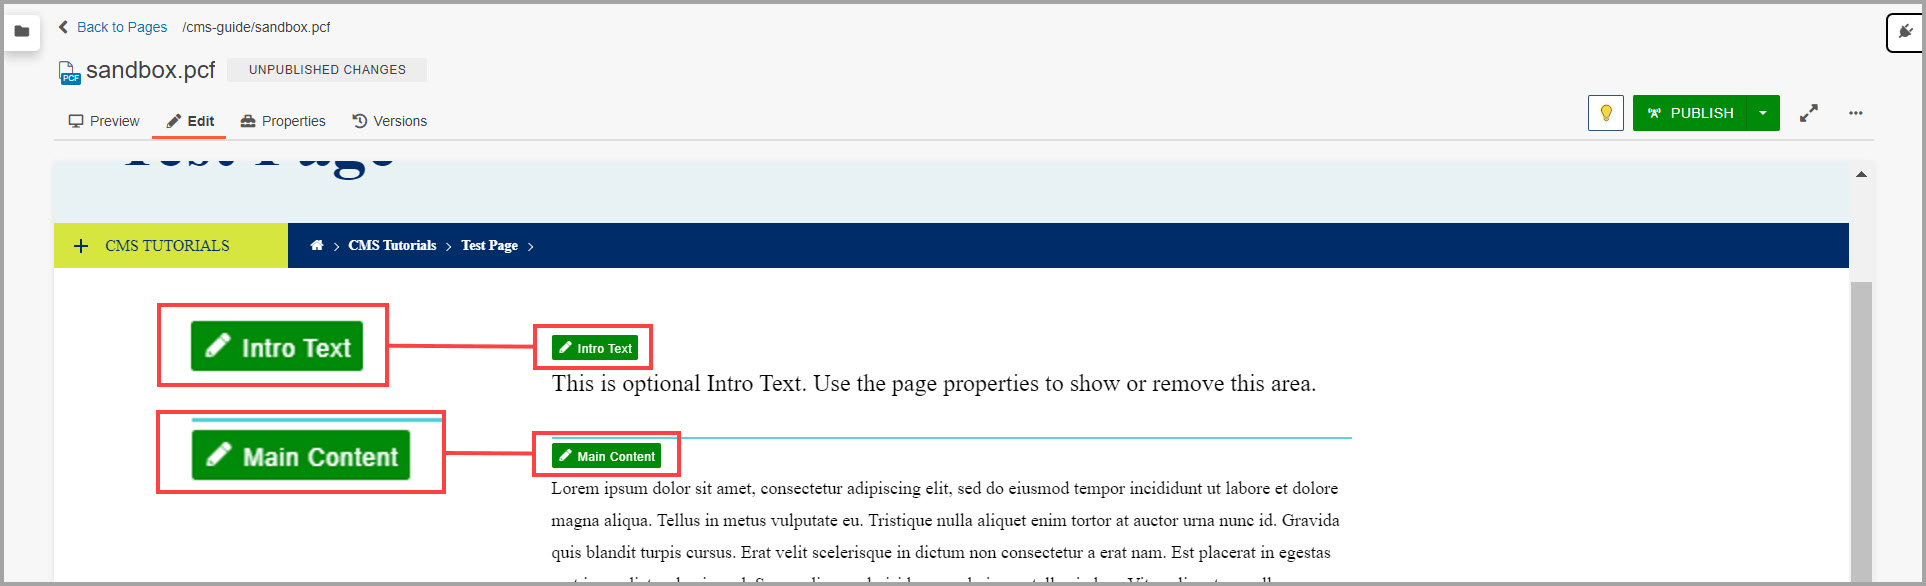
Once an edit button is clicked, the WYSIWYG toolbar to edit that region will appear.
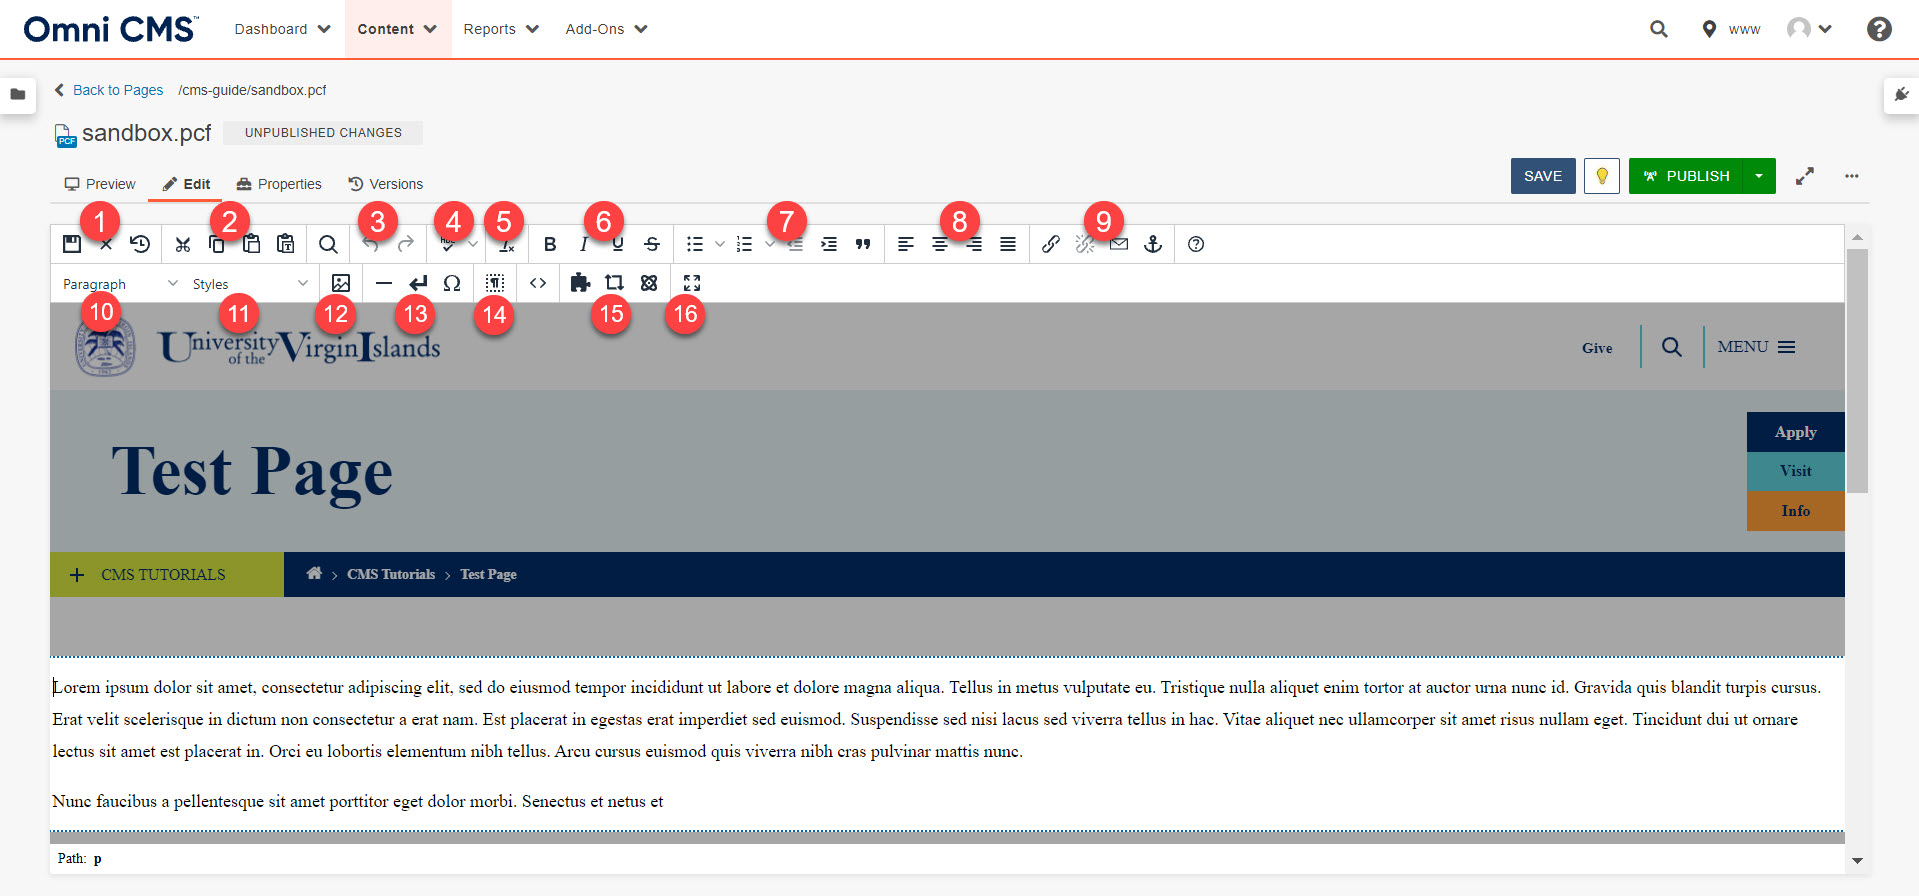
Many of the editing tasks for a page such as inserting images and links, applying
formatting such as bold, and spell checking a page can be accomplished from within
the WYSIWYG using the toolbar. Clicking on any icon performs an action, either directly
to the page, or to the selected text and graphics. Some icons display more options
in a drop-down menu, or in a dialog.